Hornbach Gateway Part 2 — Root Shell via U-Boot
Apr 9, 2026 · home automationhardware hacking
Quick update on the Hornbach SMART HOME gateway hack — things moved forward faster than expected.
Finding the serial pads
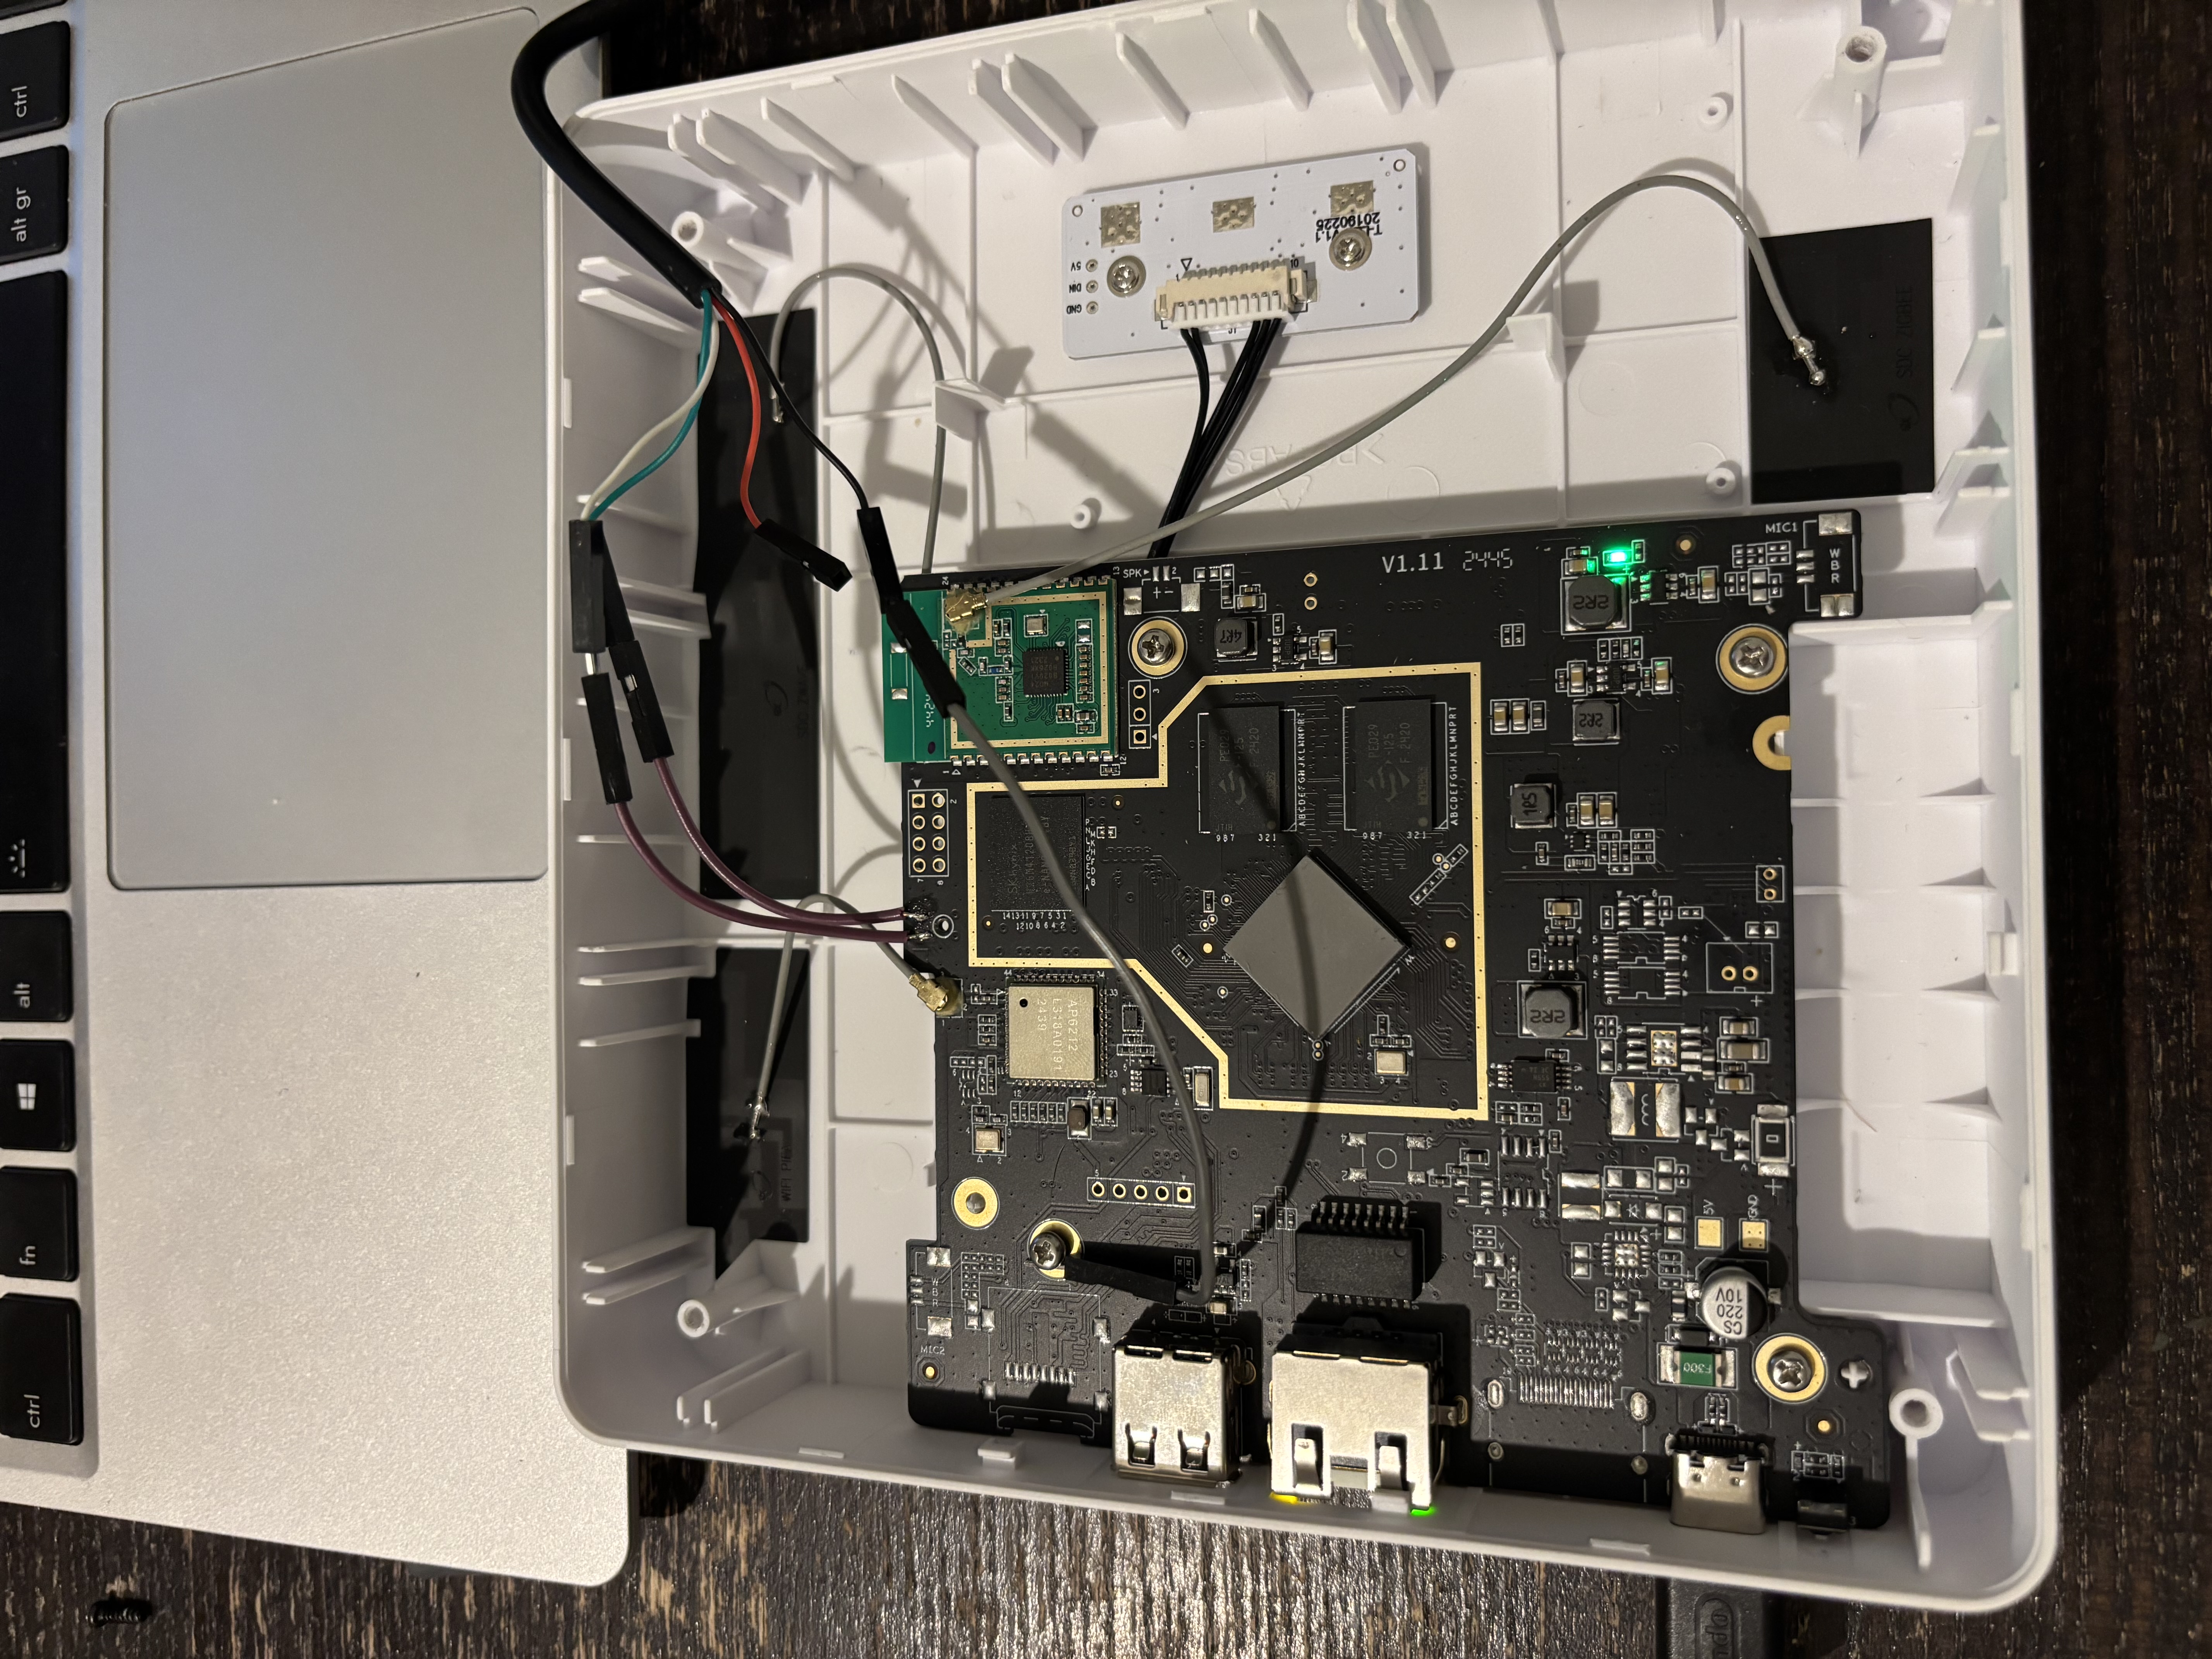
In the previous post I mentioned I was waiting for a 3.3V UART adapter. In the end I did not need to order one — turns out my existing adapter can do 3.3V by moving a 0 ohm resistor to a different pad on the adapter. A two minute fix. Once I had that sorted I probed the board… and got nothing. Went back over the PCB very carefully and eventually found the culprit: the serial pads were hidden under the silkscreen on the edge of the PCB. Not the usual corner debug header — they had printed the silkscreen layer directly over the pads, presumably to make them less obvious. Once I scraped that off and soldered to the pads properly, a clean U-Boot console showed up immediately at 115200 baud.
Stopping U-Boot
The U-Boot autoboot timeout was set to 0 seconds, so there is no visible countdown — it just boots straight through. The trick is to spam a key the moment you power the board on. Keep hammering it before U-Boot even gets a chance to hand off to the kernel and you will catch it:
=> Hornbach has not disabled the interactive prompt itself, just set the delay to zero. Key spamming works fine :D.
Getting a root shell
With a U-Boot prompt the plan is simple: load the kernel and device tree from eMMC into RAM, then set bootargs manually with init=/bin/sh appended. That tells the kernel to run /bin/sh as PID 1 instead of the normal init system, dropping you into a root shell before any of the Hornbach software starts.
The eMMC is on mmc 1 (not 0 — that would be an SD card slot). The commands:
# Select the eMMC
mmc dev 1

# Load kernel and device tree into RAM
load mmc 1:1 0x42000000 uImage
load mmc 1:1 0x43000000 dtb

# Set bootargs with init override
setenv bootargs console=ttyS0,115200 root=/dev/mmcblk1p2 rootwait init=/bin/sh

# Boot
bootm 0x42000000 - 0x43000000
A few seconds later:
[    2.847321] Run /bin/sh as init process
/ #
Root shell on the Hornbach gateway. Not bad for an afternoon’s work.
What is next
Now that I have a shell I can explore the filesystem and map out the partition layout before touching anything. And since U-Boot has USB host support, there is no need for FEL trickery to back up the eMMC — I can do it directly from the U-Boot prompt by plugging in a flash drive and copying the eMMC block device straight to it:
# Initialize USB and wait for the drive to enumerate
usb start

# Write the entire eMMC (mmc 1) to the USB drive (usb 0), 512-byte blocks
# Adjust count to match your eMMC size (e.g. 7634944 blocks = 3.9 GB)
mmc dev 1
usb dev 0
mmc read 0x42000000 0x0 0x800    # read first 1 MB into RAM as a sanity check

# Or use cp to write directly block-by-block to the USB storage
# (exact syntax depends on U-Boot build; this is the typical approach)
Alternatively, from the root shell (once the system is booted with init=/bin/sh) it is even simpler — just mount the USB drive and dd the eMMC to it:
# From the root shell after booting with init=/bin/sh
mkdir /mnt
mount /dev/sda1 /mnt
dd if=/dev/mmcblk1 of=/mnt/hornbach-emmc.img bs=1M
That gives a full backup before anything destructive happens. Once that is safely on disk I can start experimenting with flashing Home Assistant OS — more to follow!